
Getting started with underwater photography
Owning an underwater camera has substantially increased my enjoyment of diving over the years. Even my first point and shoot camera, an unbreakable gem that cost under 200 dollars was so much fun! Spending time searching the sea for mysterious creatures to capture on film allowed me to forever remember and relish the best moments of dives. No matter the camera you have, whether it be a GoPro or a professional DSLR here are some simple tips to help capture the underwater world in the best possible way.
LIGHT
You don’t have to be an award winning cameraman to understand that light is essential in terms of image. Underwater, light and colour are different than on land, and the colour spectrum decreases with depth as does the light. At 30 metres, many people will start to use strobes for increased visibility and light. If you do not own strobes play with a higher ISO, lower Aperture and slower Shutter Speed to try and create a brighter image. Make sure not to have the ISO too high though otherwise grain and noise begin to ruin the image. Sometimes a lack of light is visually impressive, a good example is taking a silhouette of a manta from below against the sun. At the surface on a sunny day, you will never need strobes, as the rays of sun perforate the water hitting the sharks, whales or other creatures enabling stunning images in natural light.
SHUTTER SPEED
Shutter speed is crucial to understand as it controls the sharpness and fluidity of the image. A fast moving object should always be caught with a high shutter speed, over 1/200 should be sufficient. This enables the object or creature to be clear and not blurry. Some photographers enjoy experimenting with slower shutter speeds to create an artistic image where you can physically see the motion of a creature in the water.
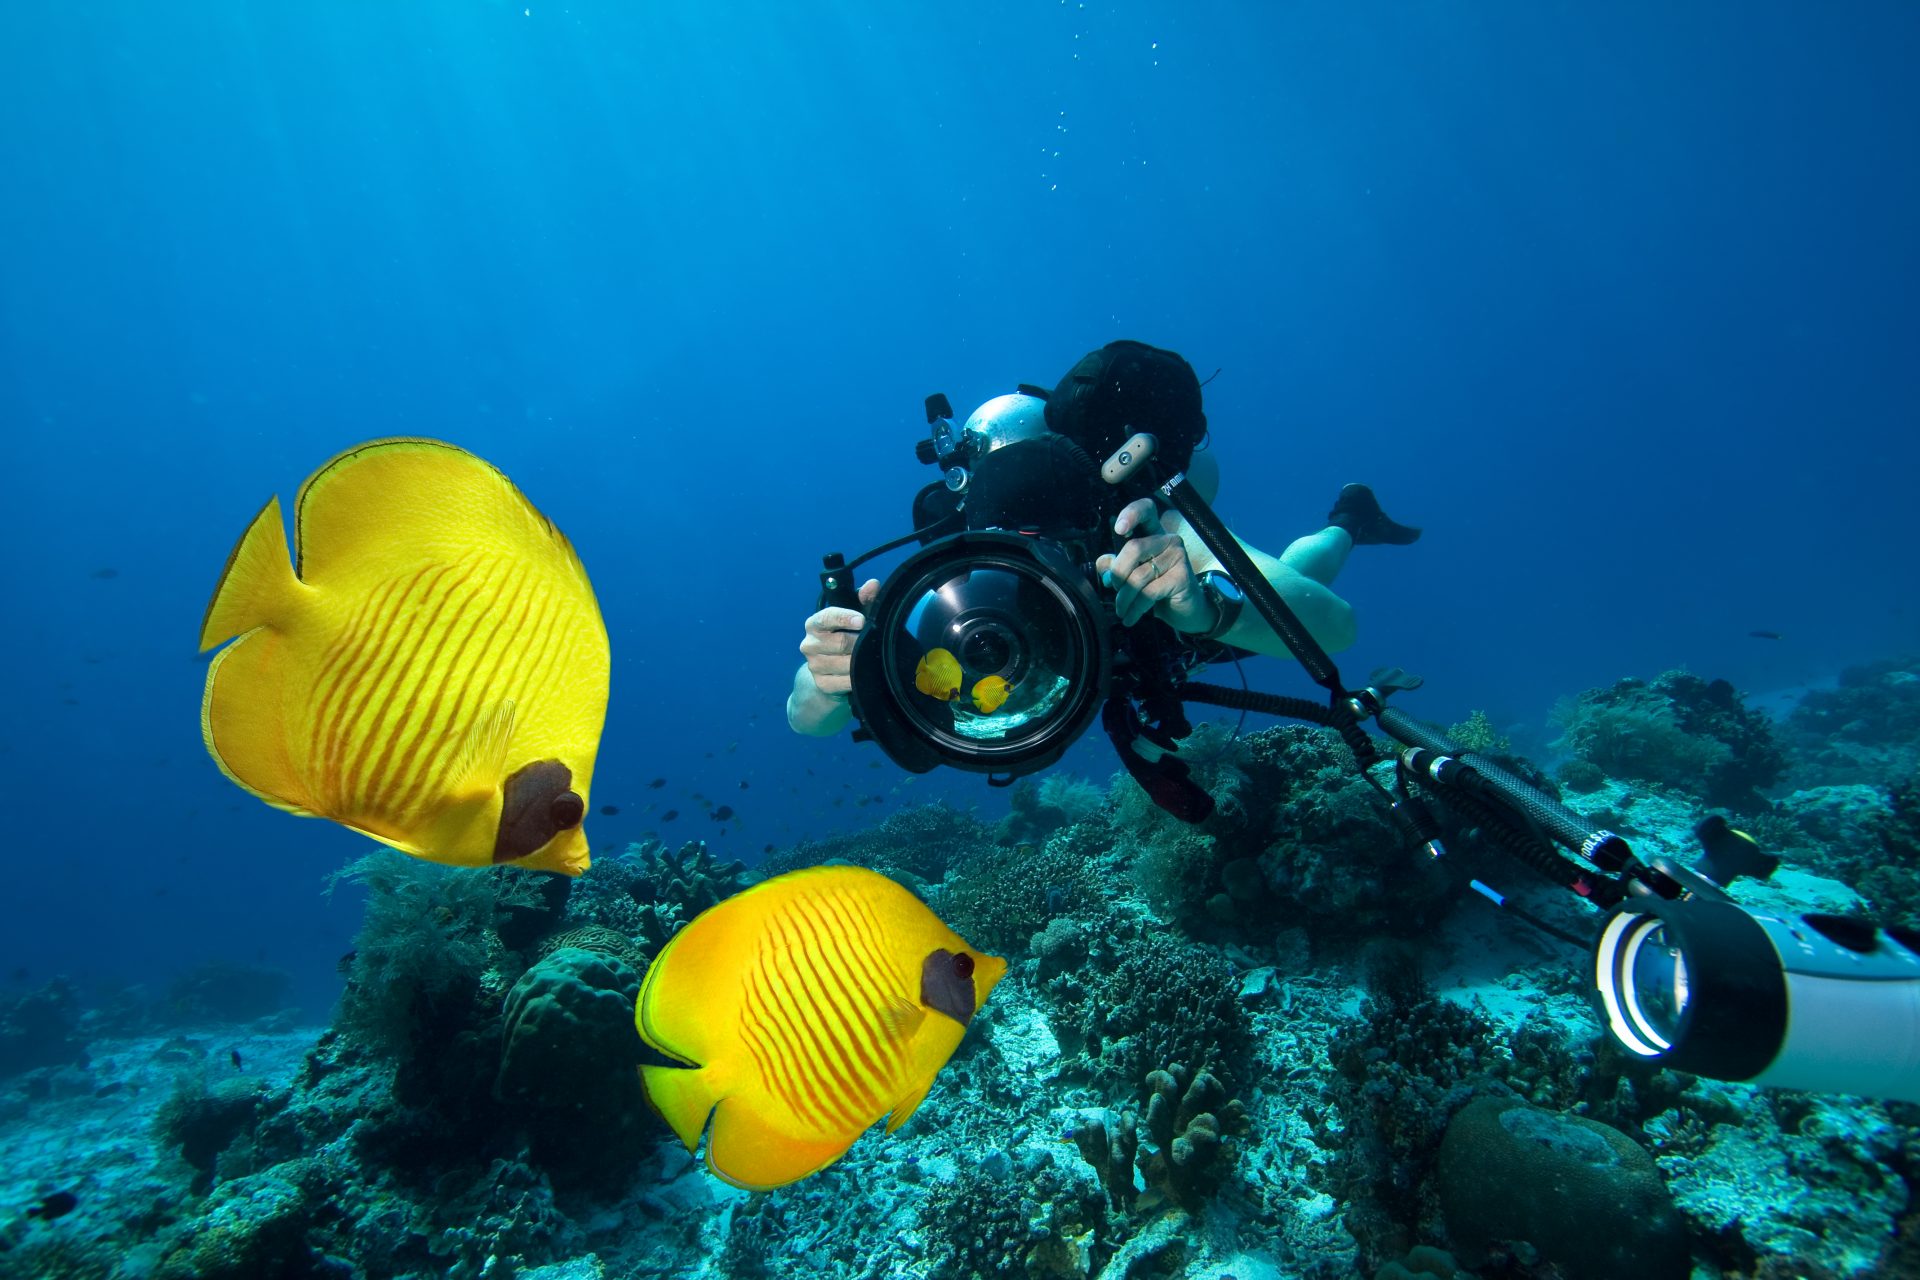
FRAMING
If you are taking a picture of a shark, don’t cut off its tail or part of its fin!! Even professional photographers are guilty of this and a stunning image can lose all effect. Try to position yourself in the water to capture the best moment, don’t shoot blindly, keep your composure and look through the viewfinder to see what you’re taking.
HOUSING
Make sure to check the limits of your camera before taking it to the water. I’ve seen multiple people lose and flood their cameras because of a user error which could have been easy to prevent. If you have a housing check the O-ring seals and keep them new and clean. Furthermore, check the all the catches on the housing are sealed and clicked-in, and finally the dome port is secured. Many housings, budget and expensive have a depth limit whether that be 15 metres or 200 – make sure to not exceed that limit and think about insurance!
LENSES
What do you wish to capture on your camera? If you are a lover of small creatures or super close ups you must invest in a macro lens. In turn, full images of whales, sharks and landscapes will require a fisheye or wide-angle. Some compact cameras have an impressive macro lens built in, yet to achieve the best and clearest images photographers will need to invest in a separate lens for their camera. Remember you can’t change your lens underwater so choose before you begin the dive.
Where from here?
To get you started, why not buying a ready to go camera. We use an Olympus TG5 for our own underwater photography and a GoPro Hero 6 for all video shooting. These are easy to use camera’s unfortunately none of them is able to do both, stills and video. Whilst the video footage taken with a GoPro is incredible, the stills are kind of average.
The same applies to the Olympus video capability. Check out our Facebook Page and Youtube Channel in order to see what both cameras can do.